Advanced Image Generation
This guide assumes you already know basics of image generation. Information from the basic guide won't be explained again.
Our site uses SDXL (Stable Diffusion eXtra Large) as the base. Weights have been simplified and syntaxes mostly disabled for user comfort.
This guide covers: Advanced settings (LoRA, scheduler, prompt strength, CLIP skip), weights, stylization, presets, and inpainting.
Advanced Settings

Layers
Layers are "blocks" that make up an image model. Think of Stable Diffusion as a tower made of floors - each "block" has its own job:
- Early layers - Capture low-level details (edges, colors, textures)
- Middle layers - Capture patterns and shapes (faces, clothing, body structure)
- Late layers - Capture semantic meaning (concepts like "cat" vs "dog" or "anime style" vs "photo")
LoRA
LoRAs are training methods for fine-tuning large models. When you have an image model, LoRAs teach it new tricks by injecting themselves into certain layers - like remodeling specific floors in the tower.
CLIP Skip Layers
Stable Diffusion uses CLIP (Contrastive Language-Image Pre-training) as a text encoder to convert your prompt into embeddings. CLIP is basically a translator between you and the image model. Skipping layers cuts off higher-level understanding.
Many anime models and LoRAs are trained with CLIP skip values in mind (most often 2). Skipping a layer might give you more anime-like or stylized results.
Scheduler
The scheduler controls the denoising process during generation. It strongly affects image sharpness, coherence, and prompt adherence.
Euler a - Fast
- Produces sharp, detailed images with strong contrast
- Great for anime, stylized art, or sketch-like detail
- Sometimes unstable with realism - might distort fine textures or faces
- When to use: Fast, creative, detailed outputs for anime-style or concept art
DPM++ SDE Karras
- Produces smooth, high-quality gradients and soft transitions
- Great for smaller details
- Each render comes out differently - good for organic variation
- When to use: Photorealistic renders, natural lighting, painterly styles, soft transitions
DPM++ 2M - Deterministic
- Produces smooth, consistent results with high prompt fidelity
- Good balance between speed and accuracy
- When to use: Realism, portraits, consistent styles where stability matters
DPM++ 2M Karras
- Produces smoother gradients, better texture, and higher detail fidelity than vanilla DPM++ 2M
- Slightly slower than Euler A, but higher quality for realism
- When to use: Photorealistic images, portraits, complex textures - best for polished, stable look
Prompt Strength
Prompt strength changes the CFG scale - the higher the value, the more the system follows your image prompt.
- Low CFG (1-5): Model pays less attention to prompt. More artistic freedom, dreamier compositions. Risk: Image drifts from what you asked.
- Medium CFG (6-9): Balanced adherence vs creativity. Common sweet spot: 7-8. Keeps both accuracy and aesthetics.
- High CFG (10+): Strong adherence to keywords. Can become oversaturated, harsh, or "burnt". Risk: Weird artifacts, stiff or unnatural images.
Weights
The actual weight of + is 1.1^x (where x = number of +). Meanwhile - is 0.9^x.
| # of signs | Weight of - | Weight of + |
|---|---|---|
| 1 | 0.9 | 1.1 |
| 2 | 0.81 | 1.21 |
| 3 | 0.729 | 1.331 |
| 4 | 0.6561 | 1.4641 |
| 5 | 0.59049 | 1.61051 |
| 6 | 0.531441 | 1.771561 |
DISCLAIMER: THIS TABLE ISN'T A MATH TABLE! IT'S A VISUAL REPRESENTATION OF THE FINAL RESULT!
You can game the system: (keyword-)2 gives equivalent of (keyword)1.8. More complex: (keyword---)2 calculates as (keyword 0.9^3)2 = 0.729 * 2 = (keyword)1.458
Stylization
Combinations of keywords and weights can achieve certain desired looks. Example with painterly_shading:
| With Painterly_shading+++ | Without |
|---|---|
 | |
You can change:
- Style / Stylization - Overall look
- Shading / Lighting - Volume and depth
- Line-art - Definition of edges
- Proportions - How subjects are depicted
- Texture / Detail - Surface details
- Composition / Framing - Arrangement
- Simulation - What medium the picture simulates
- Quality - Overall quality
Presets & Physicals
Image prompts have only 550 characters! You can circumvent this by using background, clothing presets, and physicals for more stylized prompts.
Preset rules on Soulkyn: 32 characters, 18 tags.
Tricks:
- Use semicolons
;to pack multiple meanings into one tag - Use underscores
_to pinpoint meaning for AI - Use
:2to apply stronger weight (normalized to prevent explosion)
Example: PaintFuka Character
Physical tags: Painterly; Soft; No_lineart, 8K;16K; Hdr, Blue Lips, Slim Eyebrows; Fair_skin:2, Long Two-Toned Dark_blue Hair, Realistic_character_anatomy, High Quality, Highest_quality; Extremely_detailed, Adult_woman:2; Mature_woman:2, Realistic Details, Painterly Texture, Cute;Kawaii, Digital_painting:2, Thick Thighs; Slim Waist, High Contrast, Painterly Details, Long Blue Hair; Blue Eyes, Dramatic; Epic; Emotional
Clothing tags: Hyperdetailed_eyelashes, High_contrast:2; Shadows:2; Light:2, Realistic:2; Anime:2, Canvas_tone_texture; Hyperdetailed, Hyperdetailed_skin:2, Expressive;Hyperrealistic:2, Hyperdetailed_body:2; Cute:2, Glow_diffusion; Saturated_colors:2, Hyperdetailed_shading, Hyperdetailed_textures:2, Hyperdetailed_hair, Glowing_eyes:2; Big_eyes:2, Hyperdetailed_clothing:2, Hyperdetailed_eyes:2, Art Bloom; Soft; Hard; Hairstrands, Painterly_skin_softness; Kawaii:2;, Soft Light; Thick Thighs; Matte_skin:2, Realistic Anime; Soft Shading
Background: Glowing Highlights, Detailed Rendering, Vibrant Colors, Saturated Colors, Ambient Lighting, Anime Art Style, Cell Shading, Rim Lighting, Digital Painting, Semi-Realistic, Soft Shading, Smooth Gradients, Dramatic Lighting, Polished Finish, Professional Artwork, Clean Lineart, High Contrast, Artstation Quality; Highest Quality
Breaking down part of the physicals:
- Painterly - More painted details
- Soft - Softer picture
- No_lineart - No line-art (negative-like tag)
- 8k; 16k / High Quality - Very high quality desired
- Hdr - Deeper contrast between lights and shadows
- Blue lips - Character has blue lips
- Fair_skin:2 - Really want fair skin
- Long Two-Toned Dark_blue Hair - Long hair with two shades of blue
- Realistic_character_anatomy - Realistic anatomy
Anatomy of an Advanced Prompt
It's time to use all of our newfound knowledge to be more creative with our prompts! For this we will be using PaintFuka's Background and Clothing.
Here's a comparison between no stylized prompts and stylized one:
| Not stylized | Stylized |
|---|---|
|  |
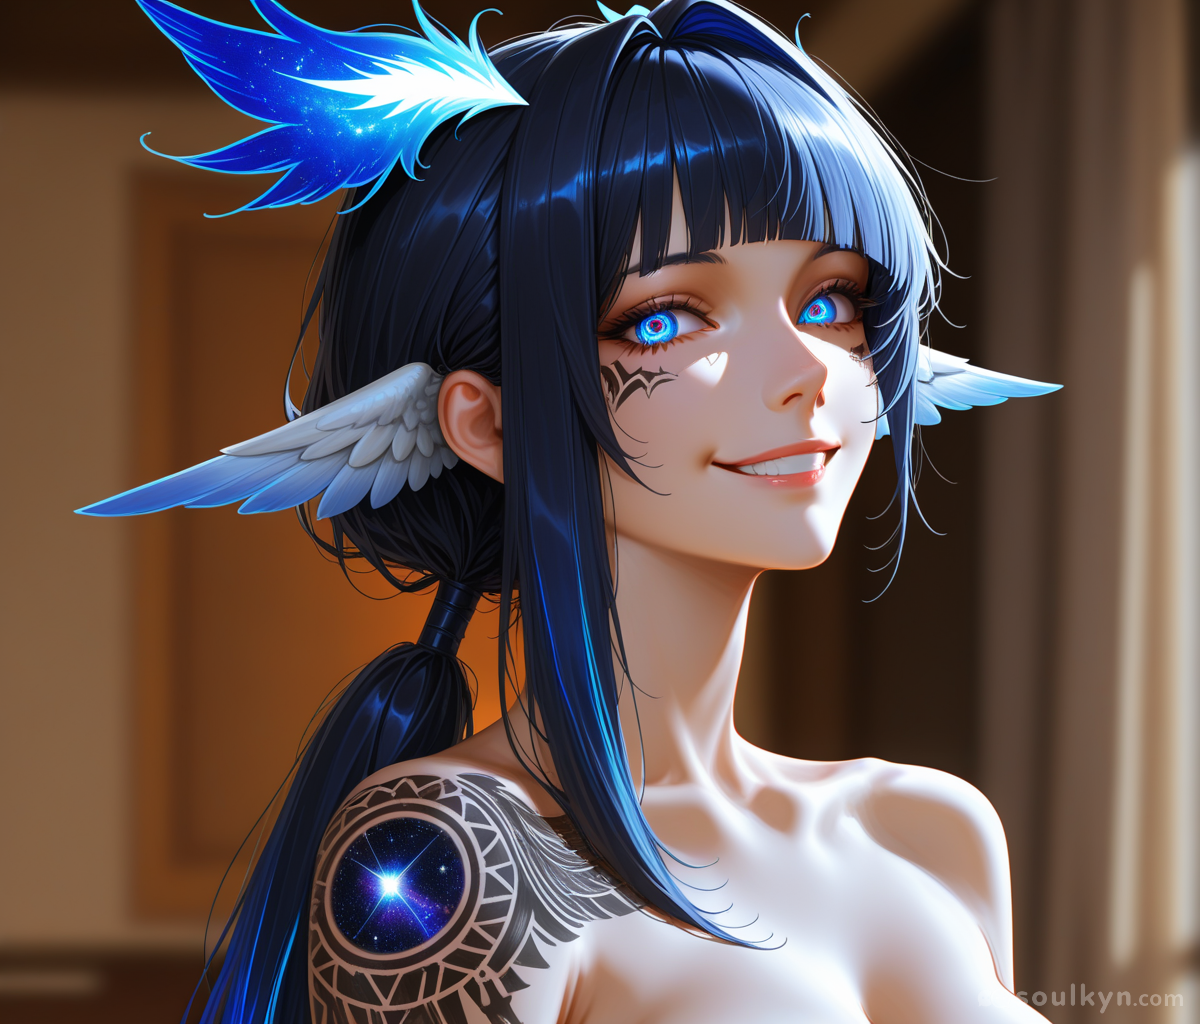
First let's describe a picture that we want to create:
- Amount of people: 1
- Perspective: cowboy shot (knees-up perspective)
- Character wearing a white summer dress
- Character is running while extending one hand
- Expression: Smiling
- Background: Not important, can be blurry to make character stand out
- Quality: Extremely detailed, realistic illustration
Taking this list into account let's prepare all the loras, scheduler, and keywords.
Because we want the picture to resemble a detailed realistic illustration let's use LoRAs just for that!
Here is the result of applying Micro / Fine details :6 and Realistic Illustration :6 LoRAs:
| With LoRAs | No LoRAs |
|---|---|
 | |
Now let's put clothing on her and make her run!
Final prompt:
Advanced settings:
- LoRA: Micro / Fine details :6, Realistic Illustration :6
- Prompt Strength: 11.0
- CLIP Skip: 2
- Scheduler: DPM++ 2M
- Image Orientation: Landscape
- Seed: Random
- Prompt: Portrait
- Background: PaintFuka
- Clothes: PaintFuka
- Image Prompt:
(solo, alone)+++, (macro_detail, clean_composition, color_balance, 8k_realistic_render, professional_product_shot)+++, (close, cowboy_shot)++++, (white_summer_dress---)2, (running)+++, (reaching_out, one_hand, outstretched_hand)+++, (smiling, Happy, open_mouth, closed_eyes)+, (blurry_background--)2
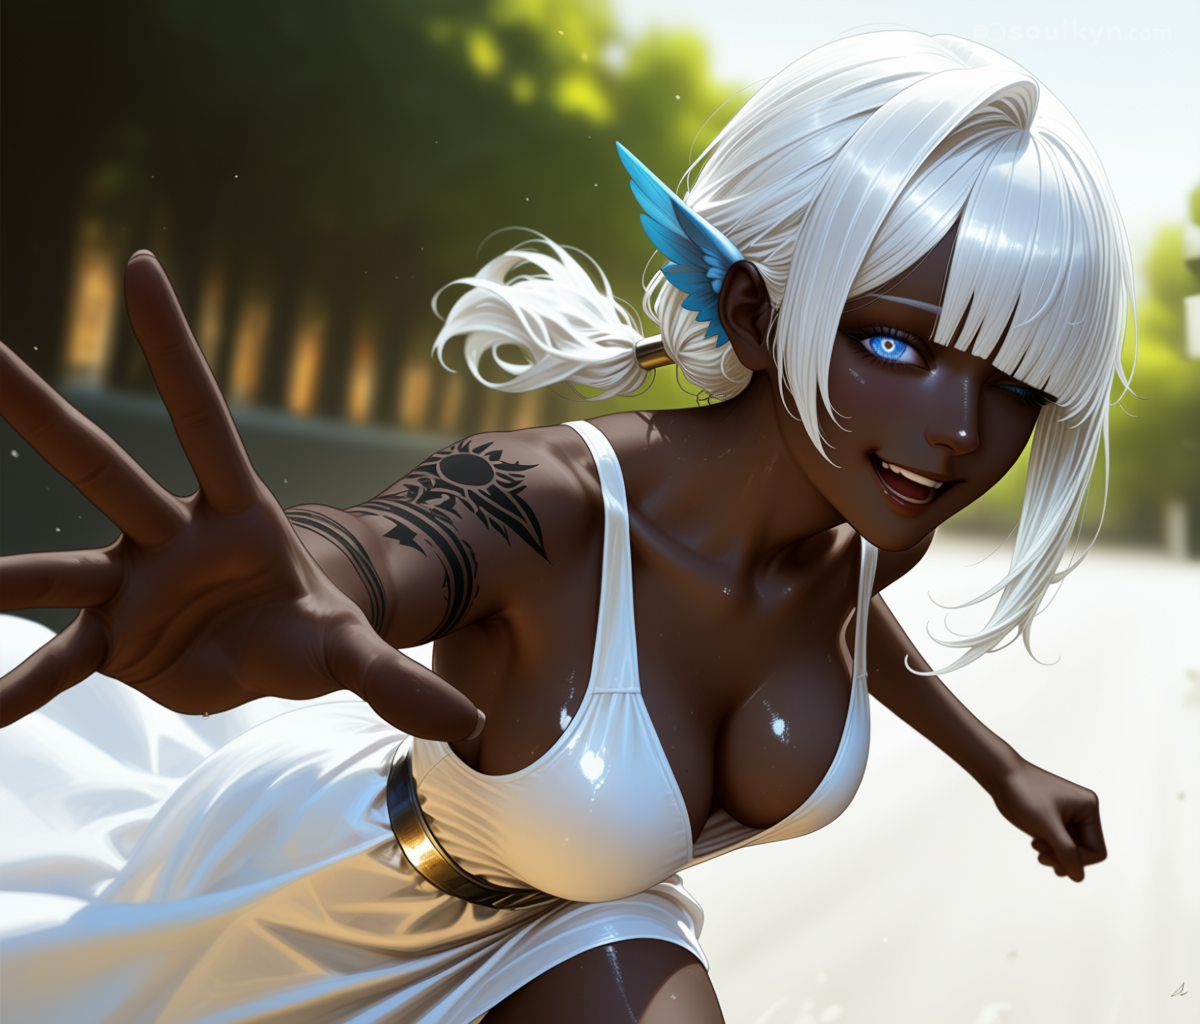
Final result:
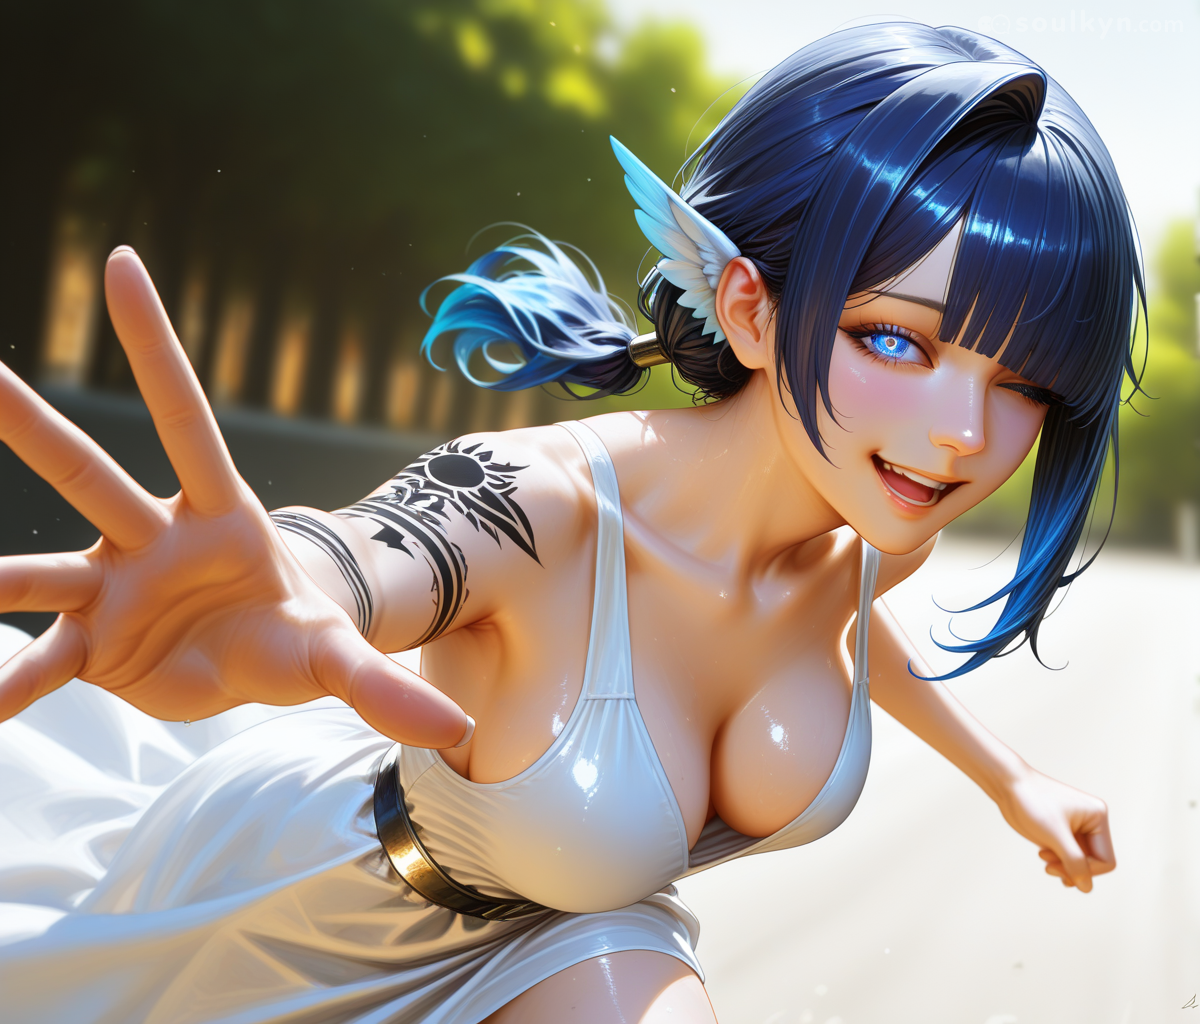
Now let us analyze what went into the prompt and how it works:
(solo, alone)+++- makes the character appear by themselves in the picture(macro_detail, clean_composition, color_balance, 8k_realistic_render, professional_product_shot)+++- these tell AI about the quality of the picture we want to get(close, cowboy_shot)++++- This tells AI that we want a really close cowboy shot(white_summer_dress---)2- This forces AI to give our character a white summer dress(running)+++- This tells AI we want our character to be running(reaching_out, one_hand, outstretched_hand)+++- This precisely tells AI what kind of pose do we want(smiling, Happy, open_mouth, closed_eyes)+- This defines the expression of our character(blurry_background--)2- This forces AI to give us a blurry background
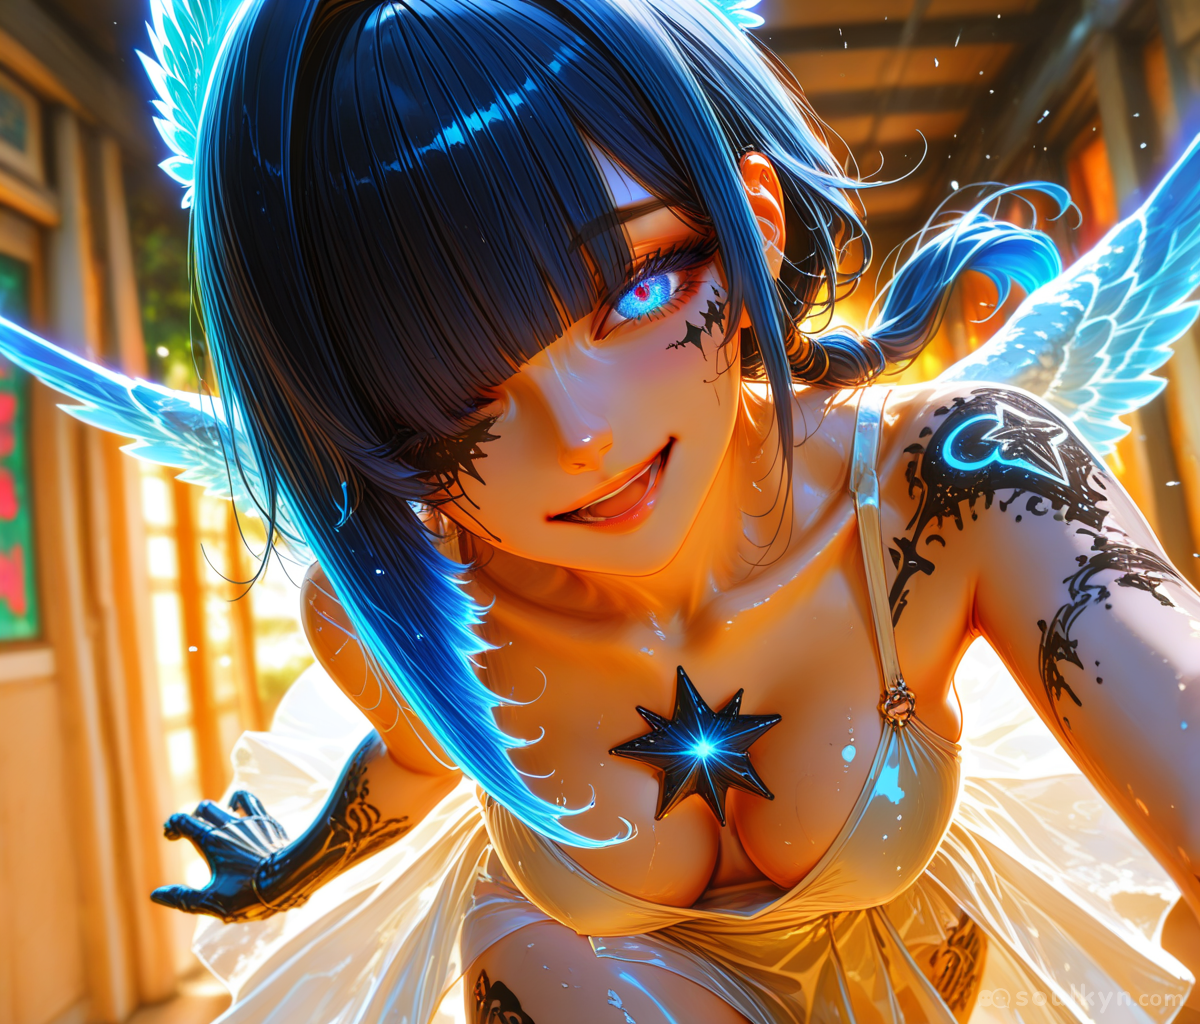
As an extra, this is the effect of adding just one more LoRA:
Common Issues
The most common issue is degrading quality - some users call this "carpetization" because broken images look like close-ups of carpet surface.
This is most likely due to:
- Too much weight
- Too much strength on LoRAs
- Conflicting tags
Inpainting
Our website offers AI-assisted image editing. This is an experimental feature that costs souls due to resource expense.
To edit an image:
- Go to character's gallery
- Choose image to edit
- Press EDIT IMAGE button
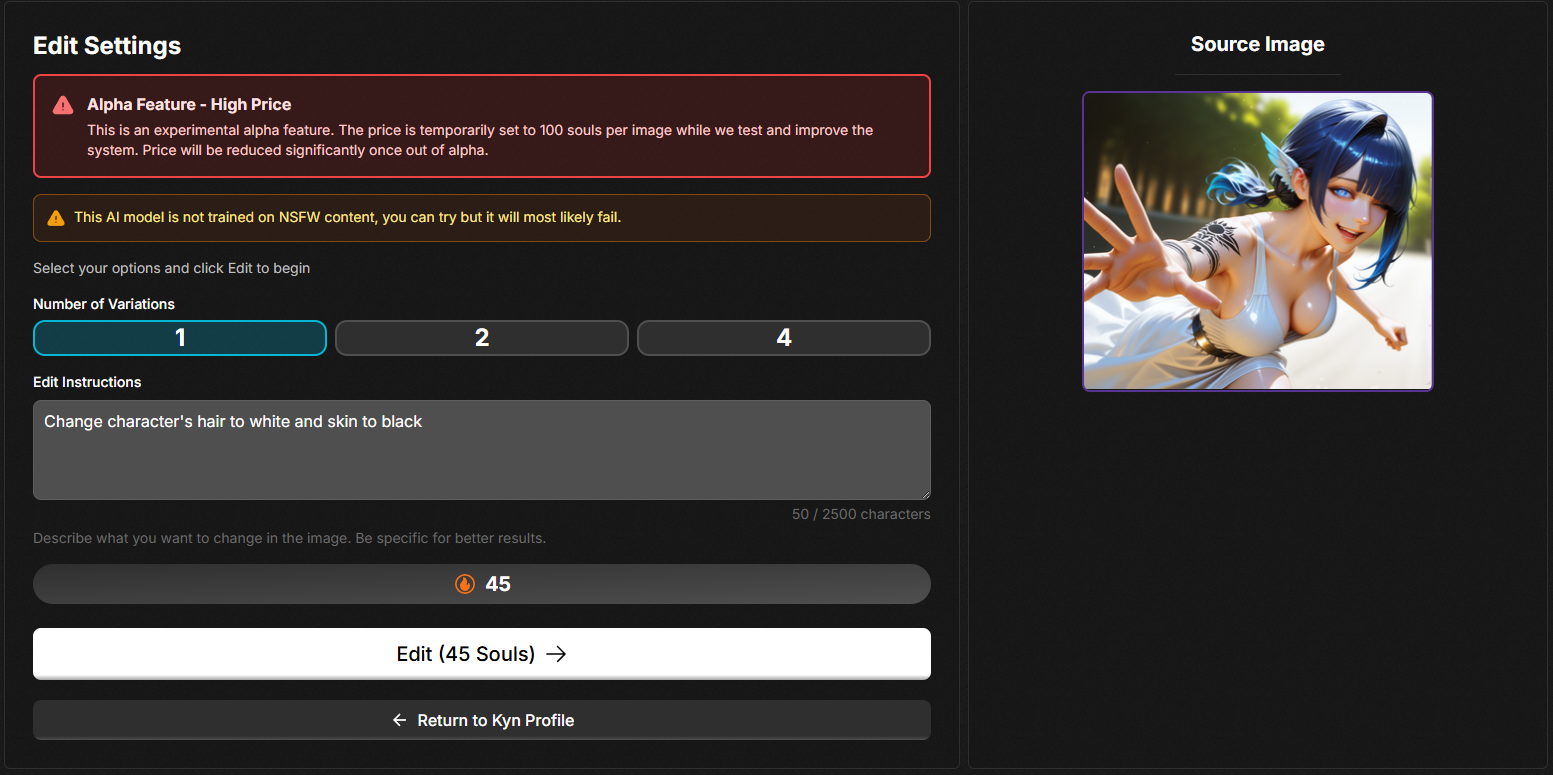
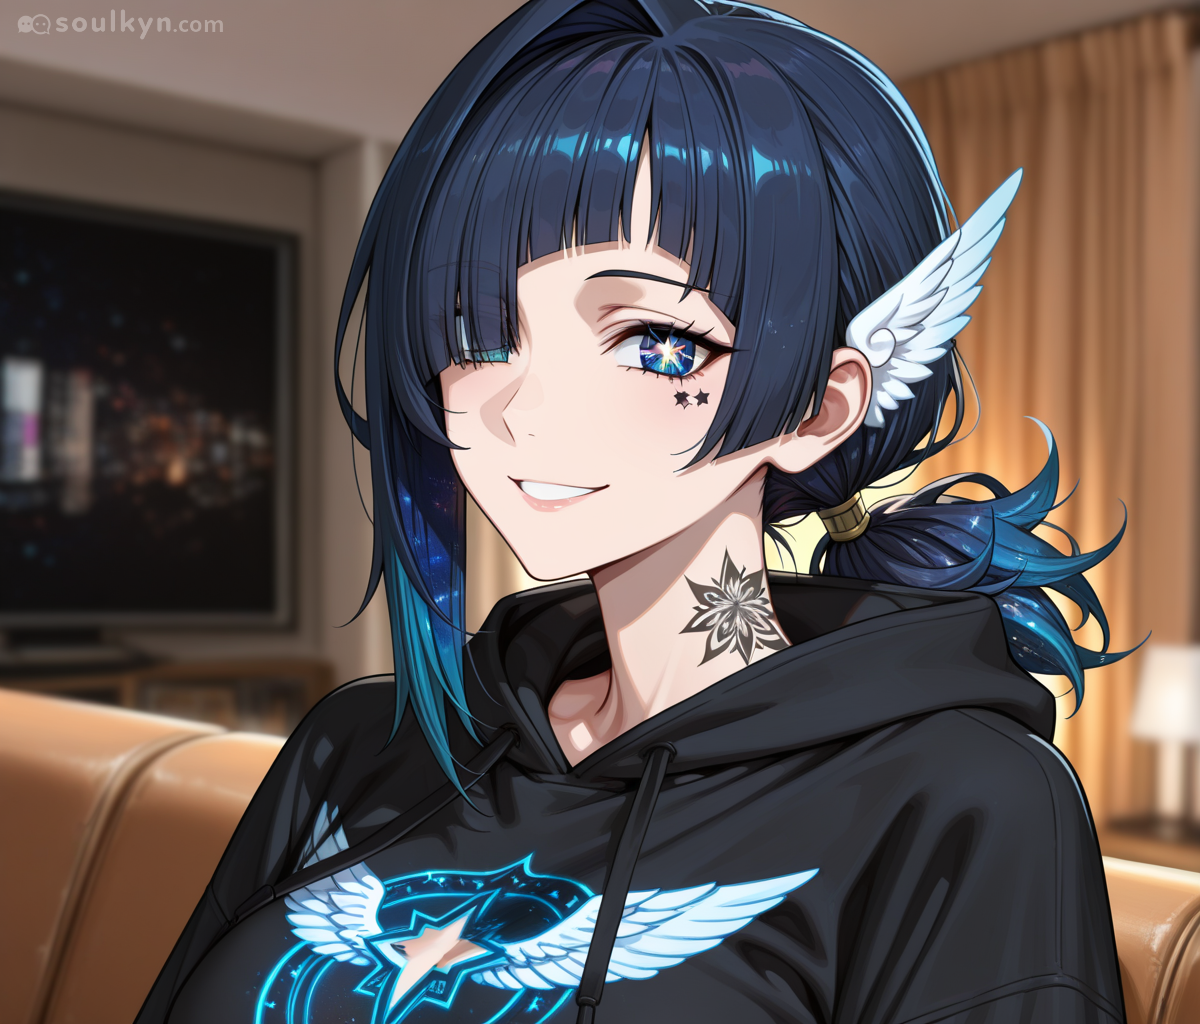
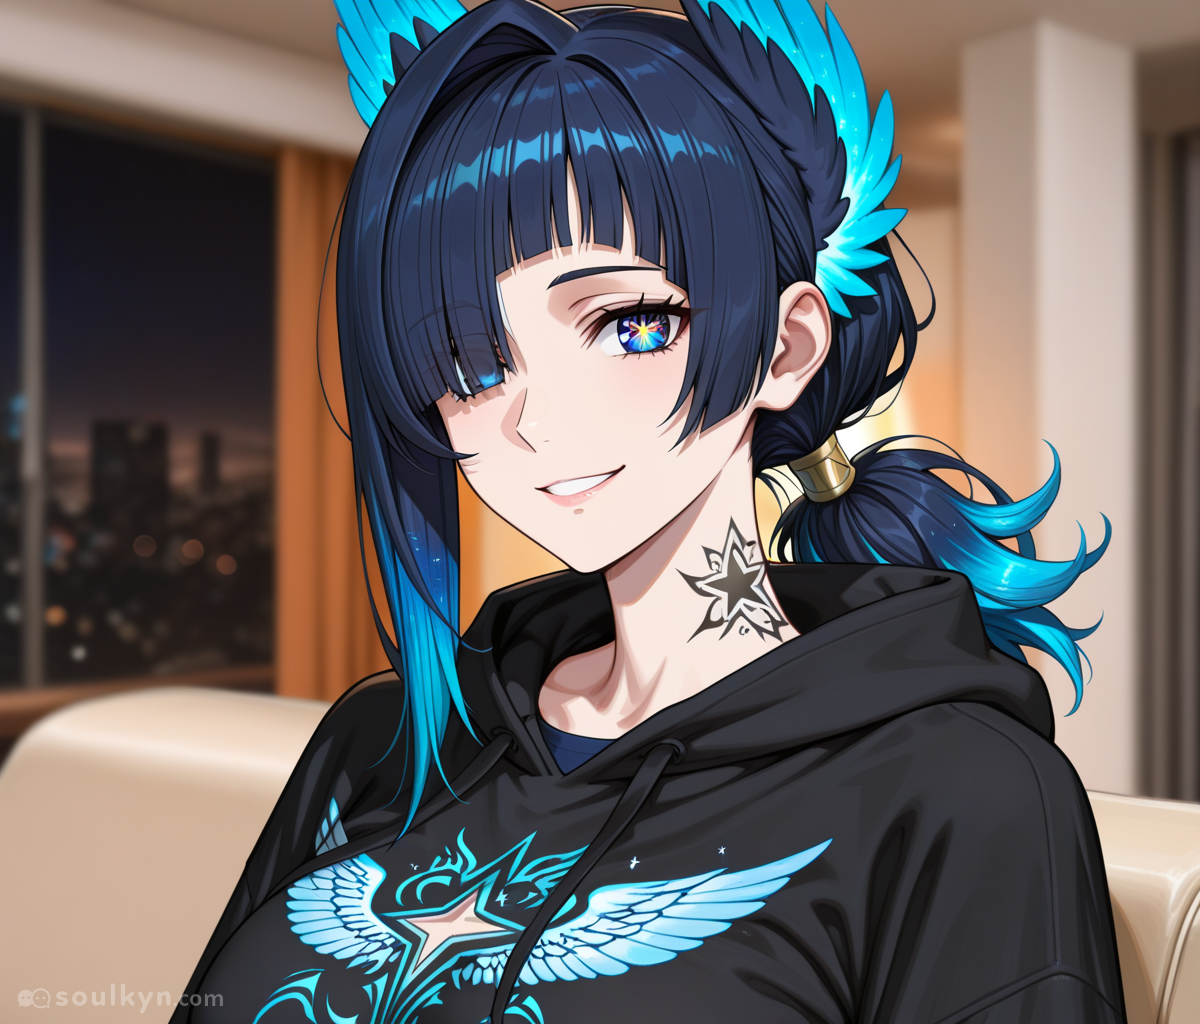
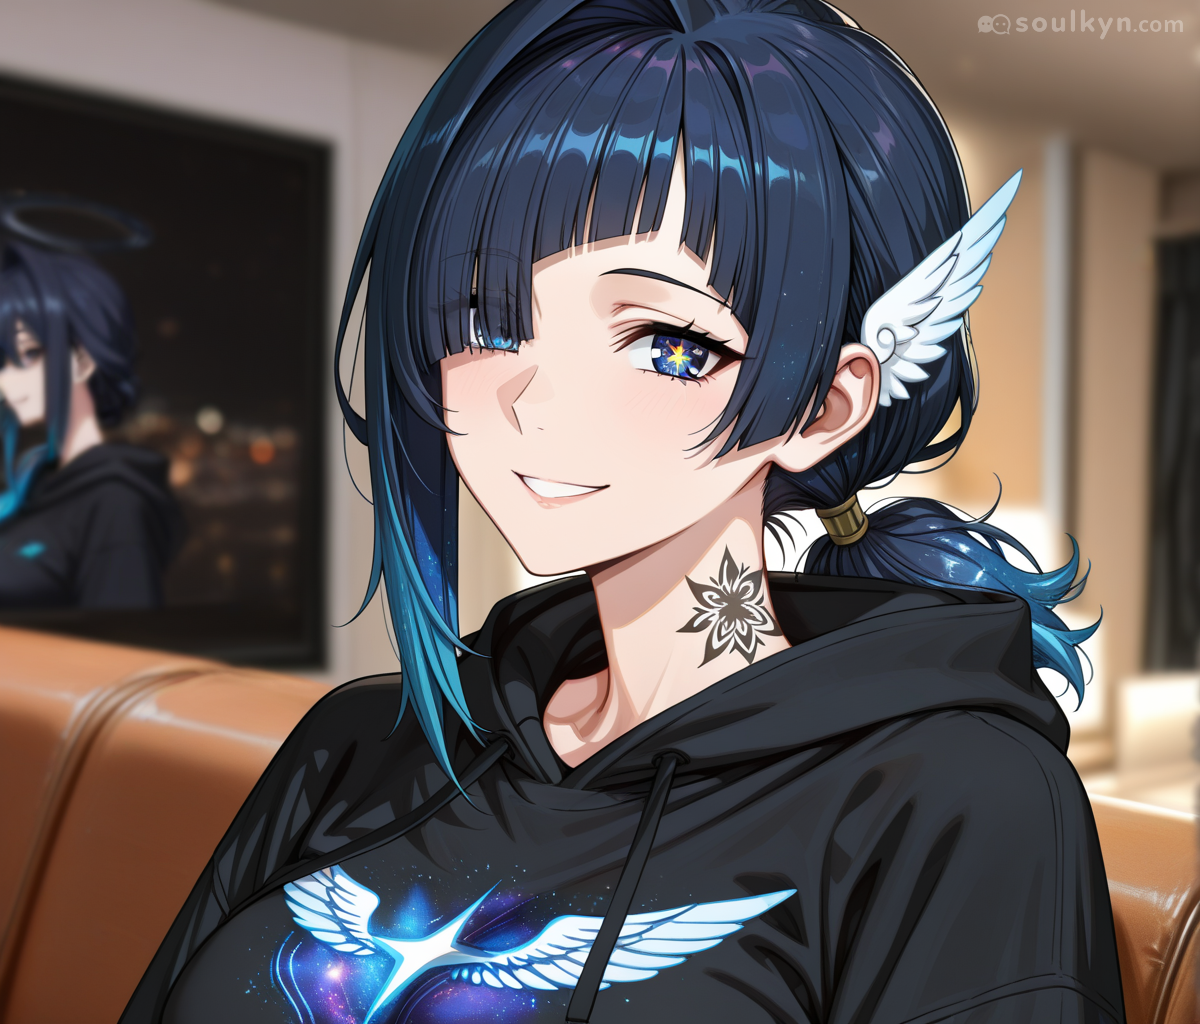
Unlike image generation, inpainting uses descriptive prompting. Explain to AI what you want in understandable sentences.
Example: "Change character's hair to white and skin to black"
The result: